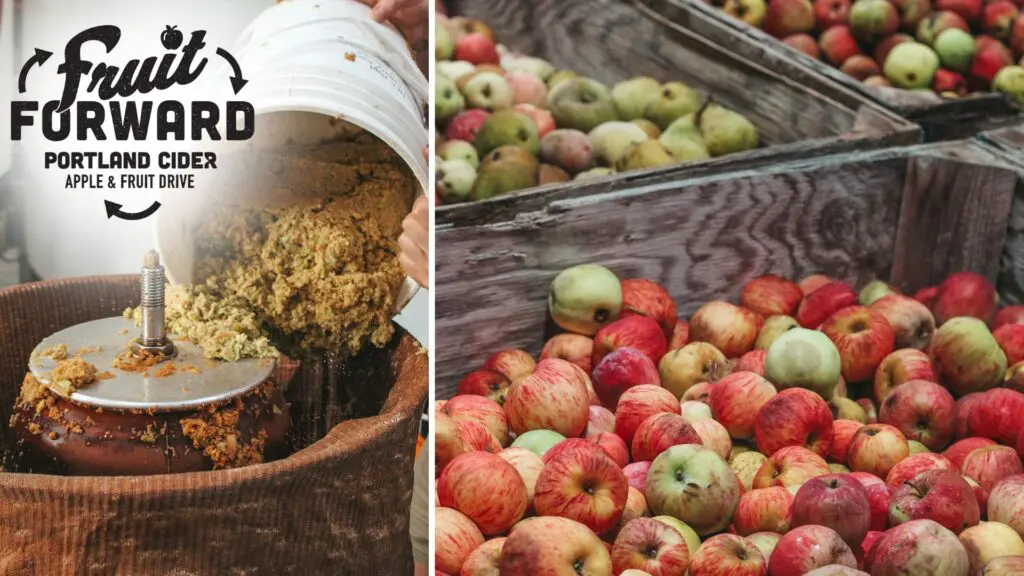
Have you ever wondered if you could make cider at home? Maybe you’ve had a few flats of surplus apples and thought you could put them to use in some delicious hard cider. Well, now is harvest season so it is the perfect time of year to try your hand at this delicate, yet very achievable process.
There are two ways to get to cider, and both start with apples. The shortcut would be to buy a home cidermaking kit, add juice and voilà: cider! But, if you’re looking to start from scratch, dash in some love and end up with the fullest flavor cider, you’ll need a few more pieces of equipment.
Luckily with Amazon and a little elbow grease, you can easily grab everything you need to make cider like the pros.
This list is meant to serve as a shopping list for home cidermaking. There are many nuances in home fermenting of any kind, all of which are not detailed in this list. If you’re serious about home cidermaking and need more detailed instruction, read our in-depth article here or check this video as a guide on home cidermaking. Cheers!
Option 1: Home Cider Kit
For the beginners, or simply just the ones looking to try a quick, easy way of making their own cider, look no further than this kit from Brooklyn Brew Shop. For just $40 this thing is tough to beat. It will get you up and running with home cidermaking, providing everything from how-to videos, to all the equipment and yeast needed to make your delicious batch. Just purchase some juice and get going!
Option 2: Apple to Glass
Apple Masher
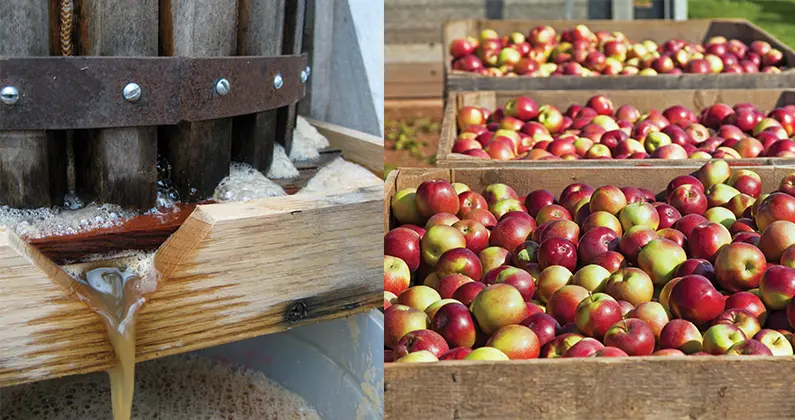
Now, if you’d like to go for the second option, making the cider from scratch, the first step is to mash the fruit into pulp. Try this fruit crusher on Amazon for great way to create your pulp. One tip with this masher: try to have a partner with you, because the legs will need to be held down while grinding the fruit. If you happen to be solo in this venture, get some vise clamps to hold the legs down while you grind.
Fruit Press
Once you’ve mashed all your apples, the next step is to press the pulp into juice. This fruit press works perfectly, but again, you’ll want someone to help you secure the legs while pressing. This task can prove slightly tricky without instruction, we would suggest using this video to see how to use the press (pressing begins at 4:00).
Jugs
If you want to skip the first two steps and make from fresh-pressed juice, you’ll jump in right here with the fermentation vessel. Depending on how much you’re making, you’ll want to snag a few gallon jugs for the fermentation. If you don’t already have some of these laying around the house, here’s a solid pack from Amazon.
Yeast
The main thing you’ll need to add to your juice is yeast. Sugar is a naturally occurring component in apple juice, and it reacts with the yeast to create alcohol during fermentation. Try this cider yeast from Cider House Select and let the magic happen.
Airlock
A critical step in fermentation is allowing the CO2 produced by the yeast-sugar reaction escape from the jug. You’ll need a specially designed piece for this task called an airlock. This 3-pack of airlocks will do the job perfectly. Note they’re made to fit on a gallon jug.
Sanitizer
Any time you’re fermenting something at home, it’s absolutely crucial that everything is sanitary. You’ll need a no-rinse sanitizer which you can use to clean all your containers and any other gear that will touch your cider to insure there is no funky bacteria that will interfere with the fermenting process. Many home brewers use Star San to keep them safe from unwanted germs.
Siphon to Bottle
The fermentation process can take two to three weeks, depending on how dry you want your finished cider to be. Be sure to taste along the way. After fermentation comes bottling, for this you’ll use a siphon to get the liquid from the fermentation jug into the final bottles. There are multiple ways to do this, but the best way is to siphon the liquid into a tertiary jug that has a tap. This way you can control the flow of the liquid and fill each 12-ounce bottle easily without spillage and enjoy with ease.

